Welcome back to another great Gogoprint video.
My name is Pim and I am from Gogoprint. We offer high quality online printing services and with these videos we intend to teach you a bit more about creating great artwork that can later be printed in high quality. These videos should make the learning process easy, fast and fun! So today, we’re going to teach you a bit about how to design print-ready business cards using Microsoft Word
If you would like to design your own Business Cards Online by yourself, please click the link here.
PART 01: SETTING UP YOUR DOCUMENT
First things first, we’re going to select a custom size for our new business cards. Click Layout > Size > More paper size. Now, set the Height to 3.78 inches and Width to 2.4 inches / 9.6 x 6.1 centimeters (which represents a 9x5.5cm business card, with added bleed of 0.3cm on each side)
PART 02: CREATING BLEED AND SAFETY MARGINS
Once you’ve finished setting the paper size, we can move on to setting up Bleed and Margins. Because Microsoft Word does not have the bleed setting we’re going to take care of both Bleed and Margin settings in one go. Do this by setting the margins to 0.24 inches or 0.6 centimeters in total. In case you still have some questions regarding Bleed & Margins or want to learn more, simply click this link and/or this link
At this point we technically have print-ready sized blank business cards. So let’s keep going and make them look great
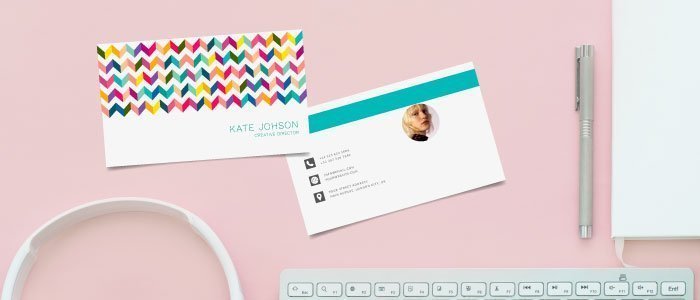
PART 03: BUSINESS CARDS → FRONT
It is easy to create/add an existing fancy background for the front side of your business cards. However, if you wish to use pictures, make sure that they are at least 300 dpi. This is super important to make sure your pictures look good (not pixelated) on the business cards once they are printed.To design the next part of the business card, click Insert > Shapes > Rectangle. You can make it cover the whole area by selecting the image while holding shift (to keep the same aspect ratio)
To include other visuals, Click Insert > Pictures > Select your Logo. Right-click your background and move your background back (behind text and Logo). Right-click the Logo and select ‘In Front of Text’, this will make editing and moving around your logo much easier.To make your visuals easy to move around, just right click on your logo choose Wrap text > In front of text. Remember, a consistent visual system doesn’t stop at the logo — exploring how to build strong brand identity will help you choose colours, fonts and imagery that tie your business card to the rest of your marketing materials. It is wise to use a textbox to type information such as company name. Like most of this video, whether you follow the next step is entirely up to you. You may wish to add your company slogan to your business cards to make it stand out from all the other boring ones. In our example, we place this just under the company name.
PART 04: BUSINESS CARDS → BACK
On the back side of your business card, it is common to add personal contact details such as name, phone number, email address, company address etc. Please don’t forget to leave a little space around the edges (don't put any images, logos, text too close to the business card boundaries). This is what we like to call the safe zone (0.6 cm margin on each side of the business card with no content of critical importance) and it is there to ensure that your business cards and all the information, images etc. on it will not be cut off during printing and cutting (regardless of how much you always wanted a shorter last name...this is not the way to do it).
PART 05: SAVING YOUR FILE
Now it’s saving time! Make sure you save your file in PDF format (which is the best format for you to upload it place your order. You can do this by Clicking File > Save as > Write your Name > Choose PDF file and Save it! Voila! Your business card is done!
DONT FORGET! Please like, shares and subscribe to our informative channel for more useful videos. See you soon, Bye! If you are interested in using the Template from the video, feel free to download it below!


