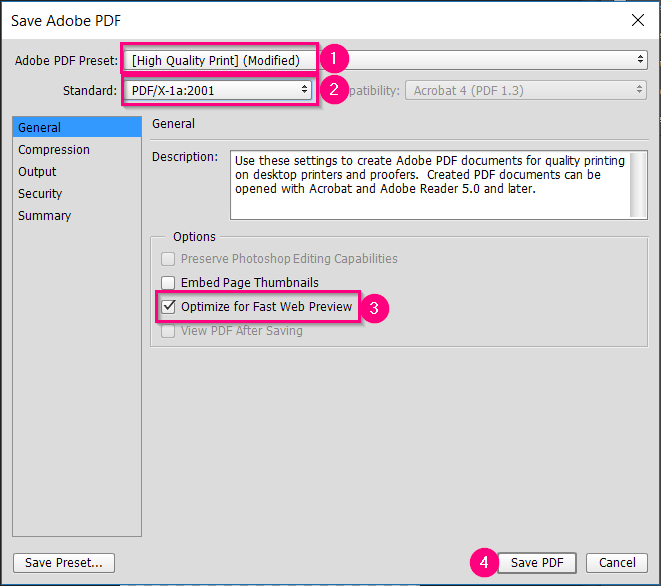
When you send your file to your printing partner, it is always best to save it in the PDF-X1a format, which is the standard in the printing industry. Before saving, you always need to make sure that bleed and margins are set up properly, as well as CMYK color mode.
After checking that everything in your file is OK, follow the steps outlined below to save your artwork file in the right format.
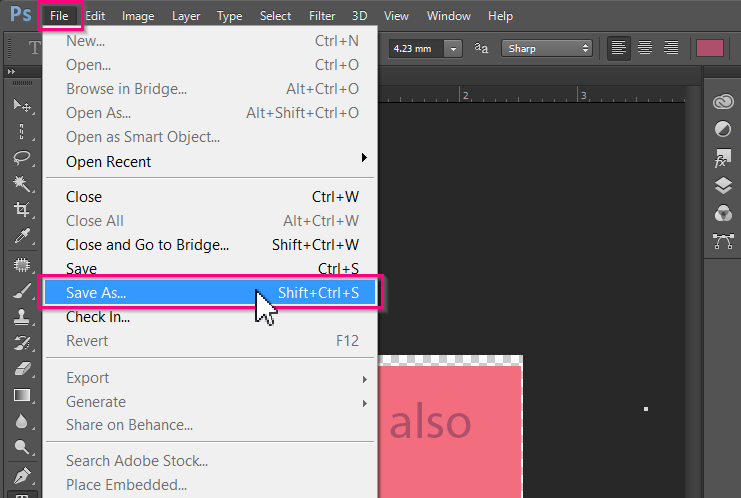
In Photoshop, go to the top menu, and click File > Save As:

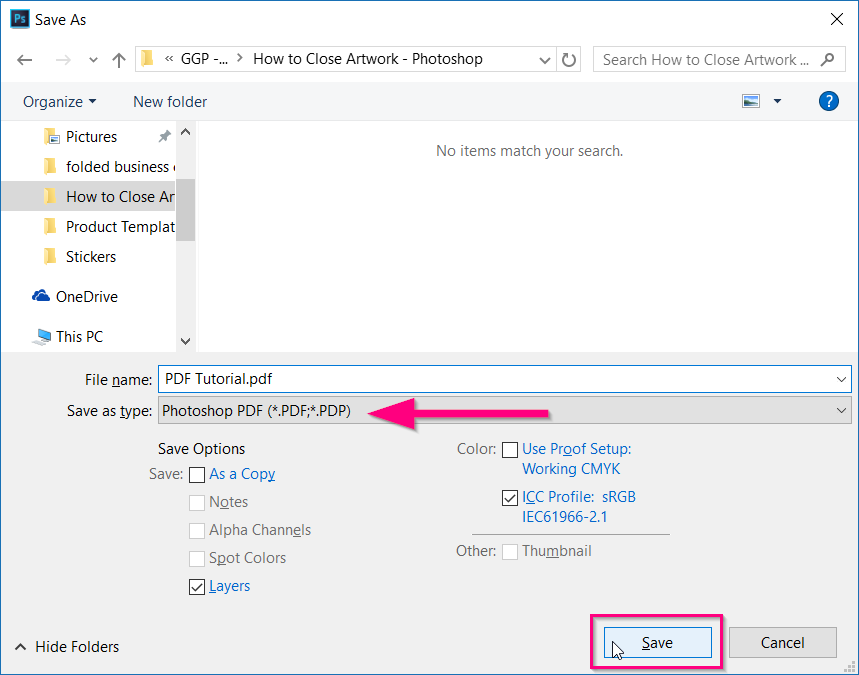
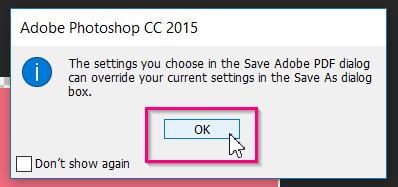
Under Save as type, choose Photoshop PDF, and then click Save:


*In some versions of Photoshop, the Standard could be PDF / X-A1: 2001.
**Other settings may be configured in the other tabs of the pop-up window, but they are not necessary for printing with Gogoprint.
Attention: In Photoshop, it is not possible to visually mark the bleed, and therefore you should always expand your canvas by 3mm on each side and expand your visual objects, images, and elements so that they extend to the bleed area. For more information on bleed, read our Bleed tutorial.


