


X-StandsQuick Links
Quick Links
X-Stands are one of the most versatile marketing tools for any business. They are a quick and inexpensive way to share your contact details with business partners or new potential clients and play an important role in creating a lasting first impression
THB 422.53
Per 1 pcsFast Delivery
Don't know where to start from?
STEP 1Do you have a design ready?
STEP 2Choose Your Options
Need help configuring your product or preparing your artwork?
10400, BANGKOK
X-Stands
Size
Choose Size
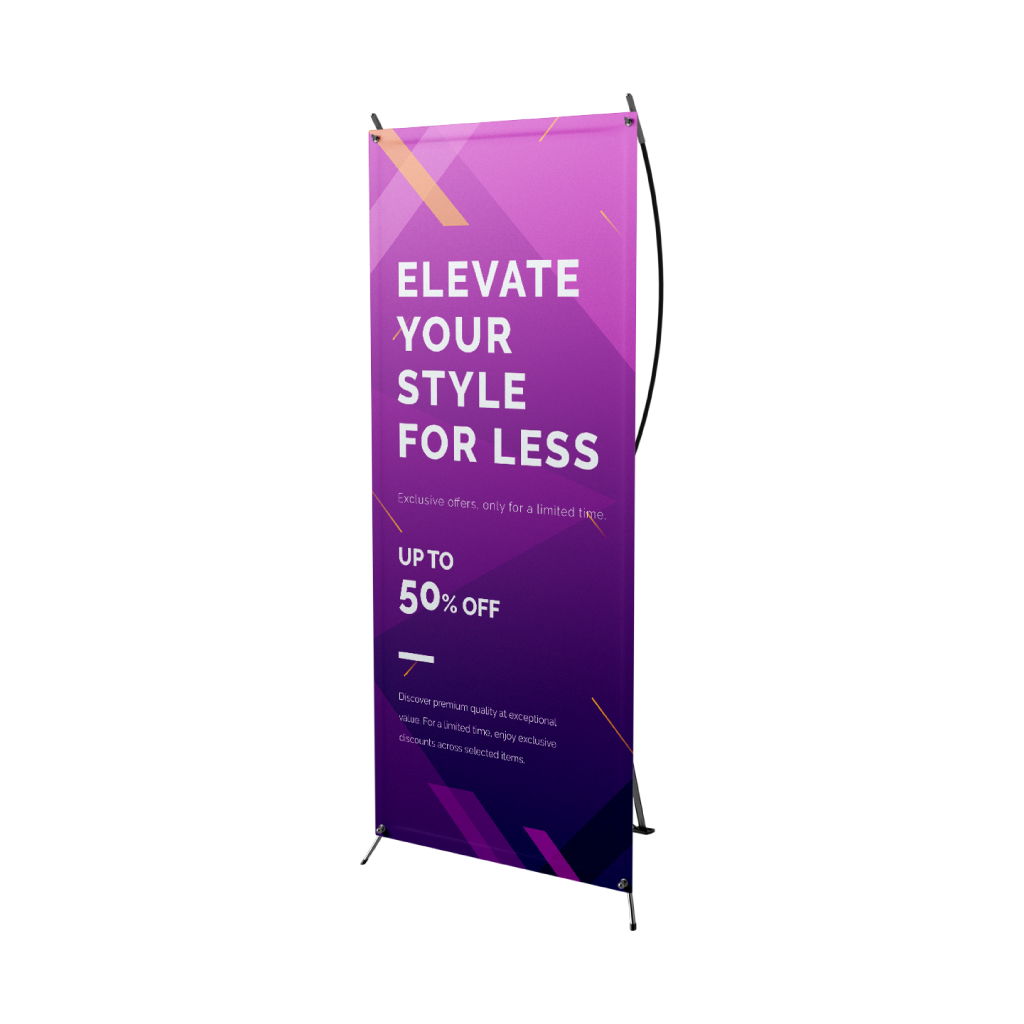
Infos & Tips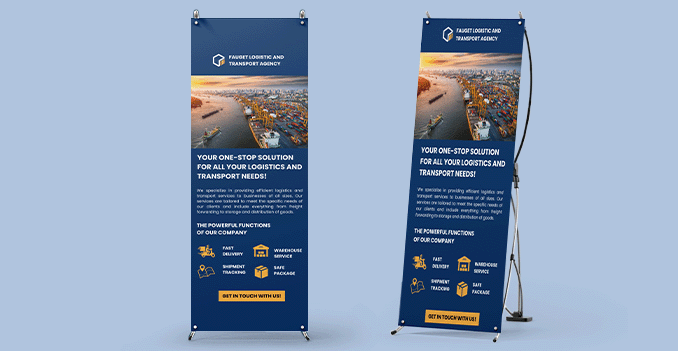 Our X-Stands are a lightweight, cost-effective display solution, perfect for events, trade shows, retail promotions, and presentations. Measuring 2ft (W) x 6ft (H), they offer a tall and narrow format ideal for showcasing vertical banners with clear, eye-catching messaging.
Our X-Stands are a lightweight, cost-effective display solution, perfect for events, trade shows, retail promotions, and presentations. Measuring 2ft (W) x 6ft (H), they offer a tall and narrow format ideal for showcasing vertical banners with clear, eye-catching messaging.How to choose the ideal size?
If you have a design, verify its dimensions using Adobe Acrobat’s 'Check Document Property' function; learn more here. Don’t have a design yet? Use our templates specifically tailored for the available sizes.Material
Choose Material
Infos & Tips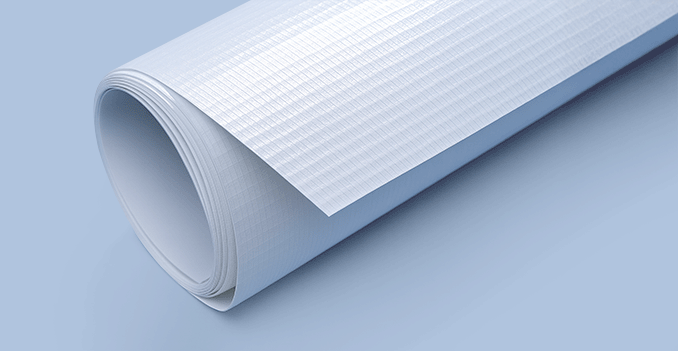 Our X-stands feature high-quality printing on glossy PP material, designed specifically for sleek indoor displays.
Our X-stands feature high-quality printing on glossy PP material, designed specifically for sleek indoor displays.Why choose X-stands with PP glossy?
The glossy PP finish enhances color vibrancy and sharpness, making your visuals stand out, while the durable X-stand frame provides stability and easy setup—perfect for exhibitions, presentations, and retail promotions.Refinement
Choose Refinement
Infos & Tips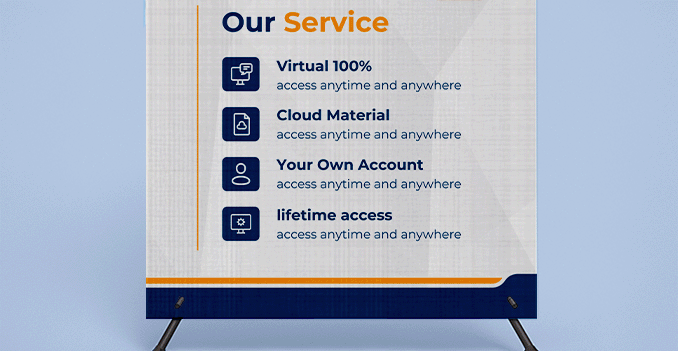 Our premium X-stands are available with either glossy or matte lamination for added protection and finish.
Our premium X-stands are available with either glossy or matte lamination for added protection and finish.Should you choose glossy or matte lamination?
Glossy lamination enhances colors with a shiny, vibrant finish—great for eye-catching visuals. Matte lamination offers a smooth, non-reflective look for a more elegant, professional feel—ideal for text-heavy or upscale designs.Stand Option
Choose Stand Option
Infos & Tips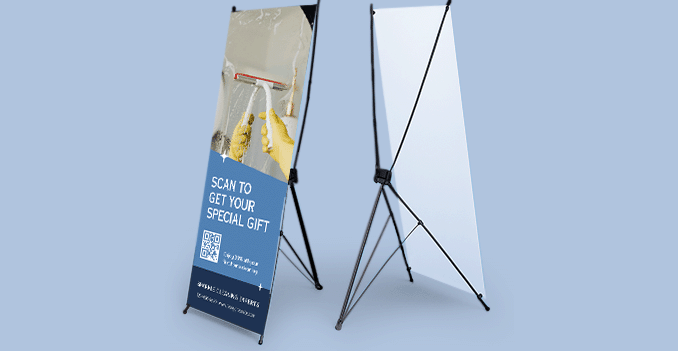 We offer the option to include a stand with your banner for a complete, ready-to-use setup.
We offer the option to include a stand with your banner for a complete, ready-to-use setup.Why include a stand?
Selecting this option means your banner will come with a compatible, lightweight, and easy-to-assemble stand—perfect for events, presentations, or retail environments.STEP 3
Choose a Quantity & Delivery Date
Please select the price below to see the cutoff time.
Quantities
Receive your products by
1 pcs
Bestseller
2 pcs
3 pcs
4 pcs
5 pcs
10 pcs
25 pcs
50 pcs
100 pcs
Can't find the quantity you're looking for? You can add a custom quantity you want
Set Custom Quantity


